
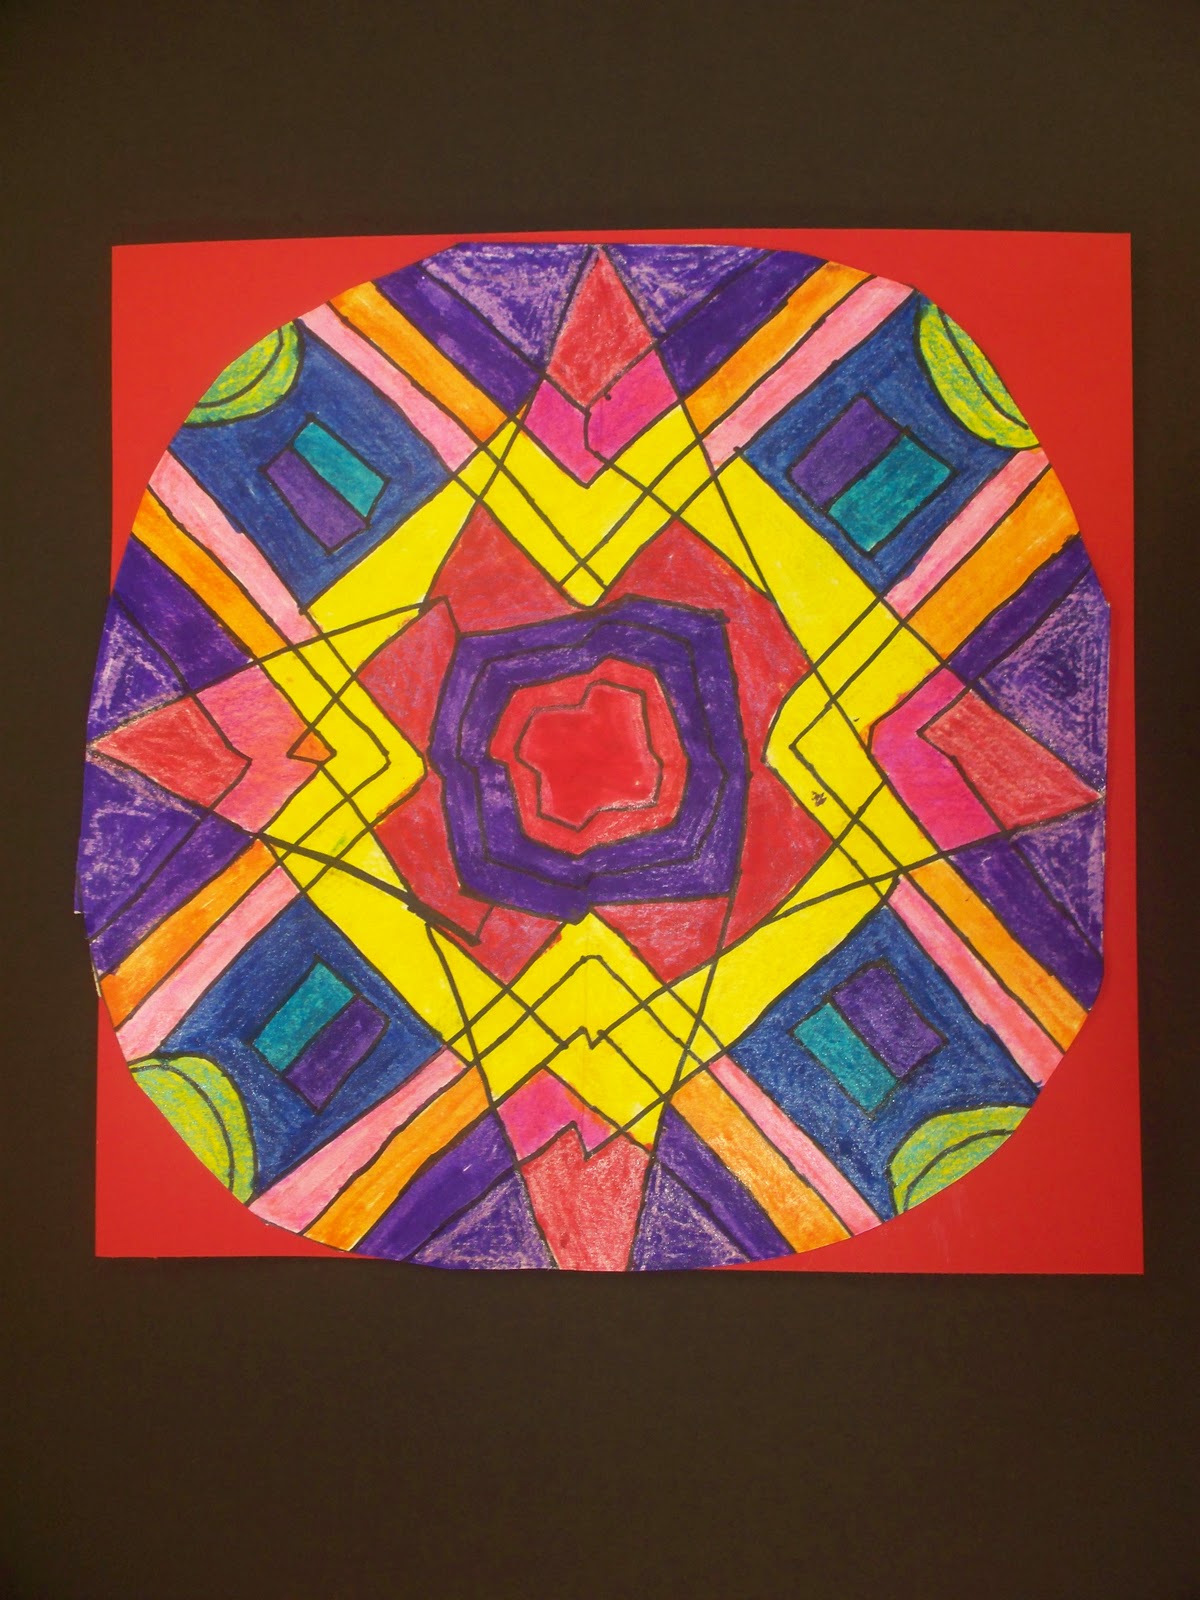
First, we created a section of the circle by folding a 6" square on the diagonal and cutting off the top of the paper, through both layers, to create a "pizza wedge". Then, on one side of the pizza wedge, students drew simple lines and shapes to create a design. They traced their design with an oil pastel, folded the other side of the pizza wedge on top of their drawing, and printed it onto both sides of the paper. They traced over the printed design again with the oil pastel. Once they were ready to print the design onto a larger piece of paper, the students werte given a 12" square of white drawing paper and folded it in half twice. This made a vertical and a horizontal line going throught the center of the paper which they would use as their guide for printing their design. They placed their design wedge, pastel side down, onto their paper and transfered onto the paper using the side of a large craft stick. Students then rotated their design around the center axis, printing in all four sections of the paper. Once their design was completely printed onto their large paper, they traced it with a black sharpie, colored it in with crayons and went on top of their crayon work with watercolor markers. The result were beautiful, stained glass looking radial designs.


No comments:
Post a Comment