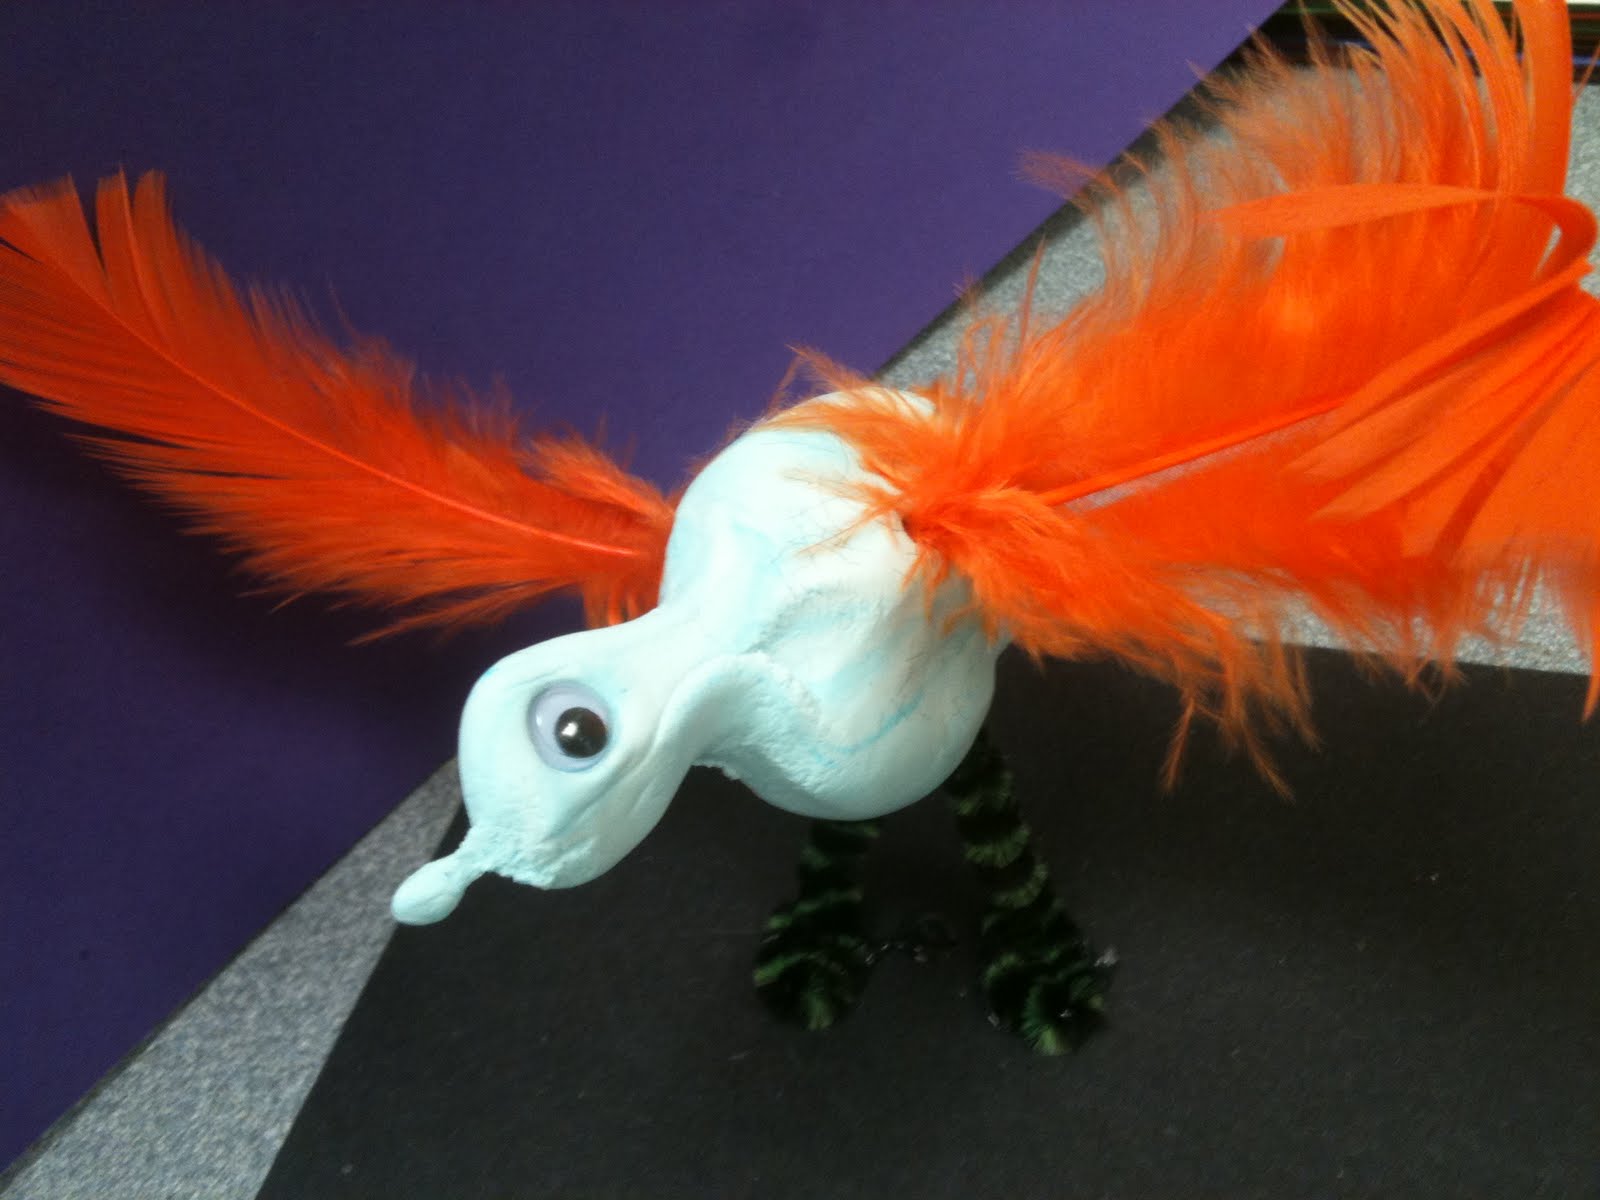
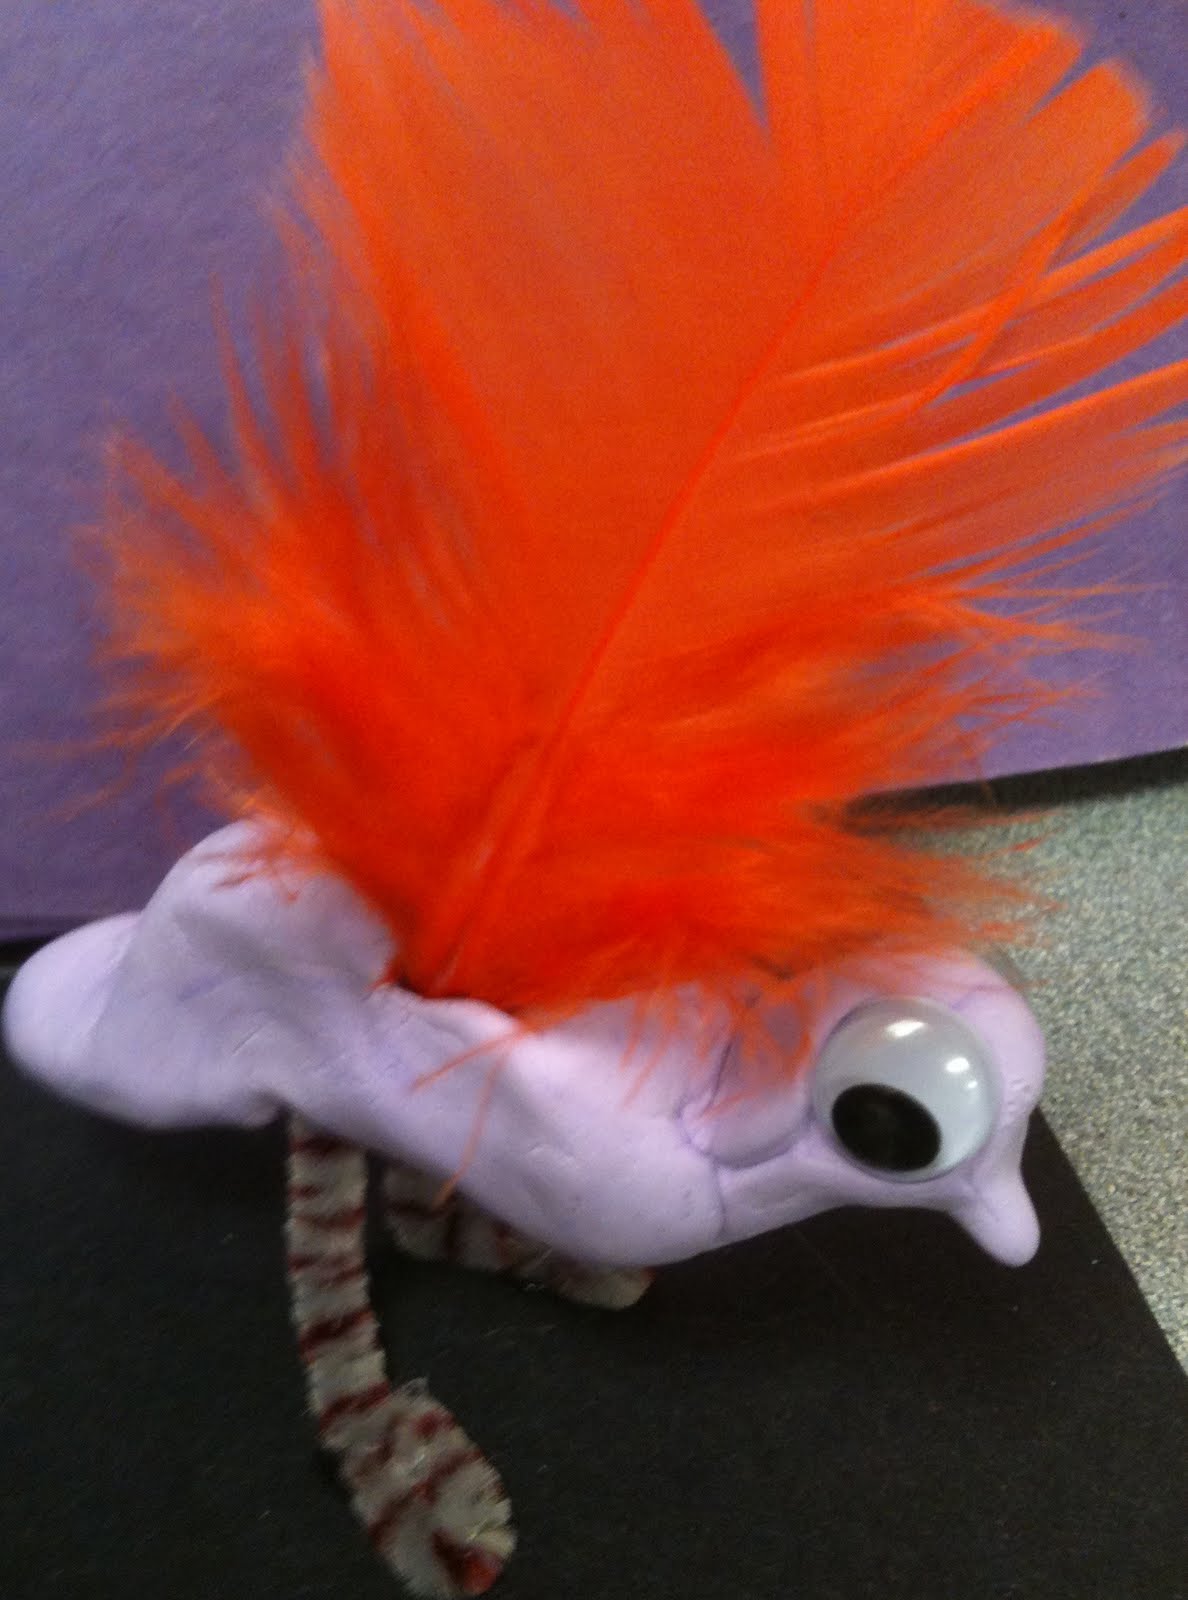
These adorable bird sculptures, made by adorable 1st graders, were so easy and fun to make! We read a book about birds and then I demonstrated how to shape the body, head, beak and tail of the bird out of white model magic modeling clay (I colored the clay with watercolor markers and kneaded it to get the desired color of my bird). Then I showed the students how to press the eyes into the clay, add the feathers and shape the feet using pipe cleaners (each leg is 1/4 of a pipe cleaner), sticking the legs up into the bottom of the bird. Last, I hot glued their feathered friends onto small squares of black railroad board. Each one had a different personality, just like their creators!
Search Creating Art
Showing posts with label One Part Lessons. Show all posts
Monday, May 16, 2011
Saturday, May 14, 2011
1st Grade Seahorses
My first grade students made these beautiful seahorses after we read the book"Mr. Seahorse" by Eric Carle. While Eric Carle uses painted papers to collage his pictures, we simply drew ours and colored them in with crayons. I gave the students a variety of different kinds of crayons; glitter, metallic, construction and regular to color their creatures with. Last, we sprayed them with watercolor spray in Nancy Bottles. They look like they're floating in a colorful sea and the kids were wowed by the spray. This was a one part project, including reading the book. The kids loved their seahorses and everyone was amazed at how beautiful they turned out!
Wednesday, May 4, 2011
1st Grade Paper Sculptures
Students love making paper sculptures! They thoroughly enjoy cutting, folding, bending, twisting, tearing and gluing paper. Paper sculptures are one of my favorite projects to do with my younger students. It is not intimidating to work with paper, like say, it is to try and draw a person or an animal. You can't make any mistakes here, really. It is just freeform imagination at its best! Plus, you get to put to use all of those scraps of paper you've been saving all year long.
There are so many different ways to make a paper sculpture, this is only one. It is abstract and fun! First, I begin with showing students a Power Point on Sculpture. This familiarizes them with the terms and concepts involved in making 3D art. Then, we make a base for our sculpture by folding a 12" x 18" piece of paper into 4 th's, that the students have colored lines, shapes and designs on with crayons. Glue the two ends of the paper together as they overlap, to make a tall, triangular base for your sculpture. You can cut out notches in the sides to invert for an interesting design on the edges. Last, show the students all the different ways they can manipulate the paper by folding and cutting and tearing and twisting. Students can glue each piece onto their base in any way they want. The results are so much fun and it is an hour well spent in the life of a child!
Subscribe to:
Posts (Atom)